Accept Apple Pay
Accept Apple Pay payments in your online store.
Apple Pay allows your customers to make payments in your app or website using Touch ID or Face ID to authenticate a credit or debit card added to their Apple Pay account. Use the emerchantpay Apple Pay API to accept Apple Pay as a payment method across all of emerchantpay’s payment integrations.
Integration options
Choose how you want to integrate Apple Pay:
| Integration Method | Details |
|---|---|
| Genesis Gateway API |
Use the Apple Pay API for full control over the integration.
|
| Web Payment Form (WPF) |
A simpler solution with minimal development effort.
|
Prerequisites
Before integrating Apple Pay, ensure you have:
- An active emerchantpay merchant account. Apply here.
- Integration credentials appropriate for your setup:
For Web Payment Form (WPF) integrations:
- No Apple Developer setup is required.
- You can use emerchantpay’s Apple Pay credentials.
- Contact tech-support@emerchantpay.com to have the credentials configured for your WPF processing.
For server-to-server (S2S) integrations via the Genesis Gateway:
- An Apple Developer Account with the Team Agent or Admin role. See Configuring Your Environment.
- A valid
.p12processing certificate, uploaded in your Genesis Merchant Console. See Generate a .p12 file for Apple Pay.
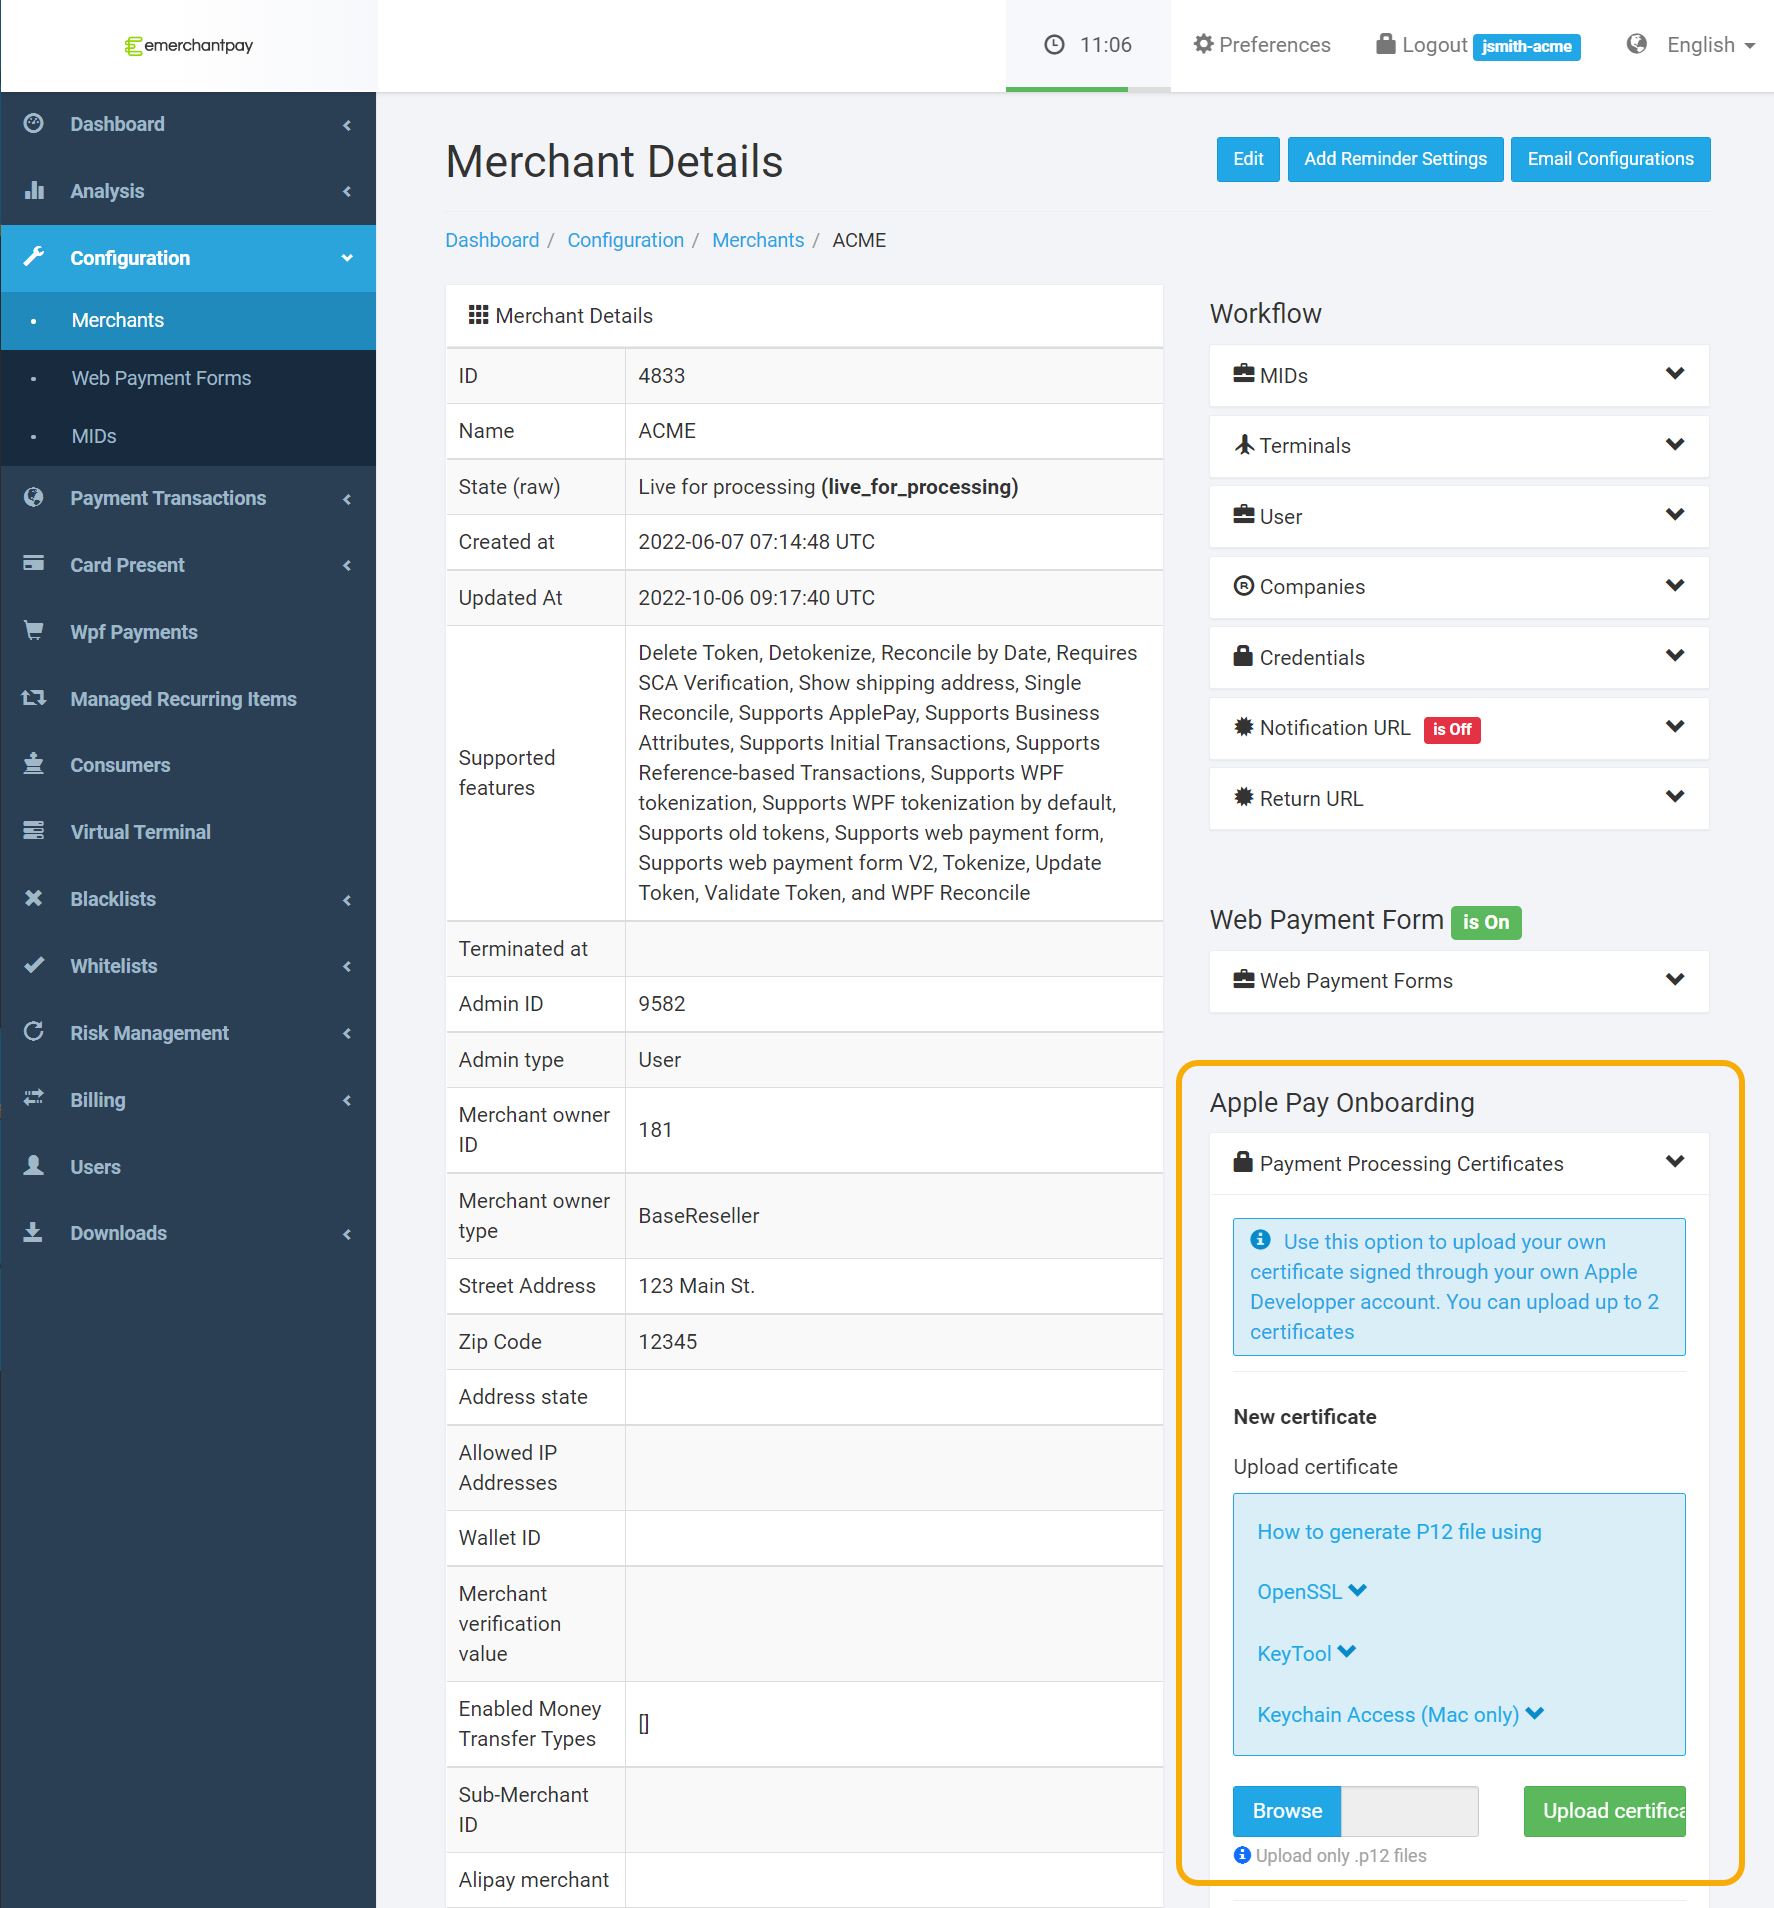
Upload your .p12 file
To use Apple Pay in a server-to-server integration or with the emerchantpay Web Payment Form (WPF), you must generate and upload your processing certificate as a .p12 file in the Apple Pay Onboarding section of your Genesis Merchant Console.
1. Authorise an Apple Pay payment
After your customer selects Apple Pay at checkout, the Apple Pay API will return an encrypted payment token containing the unique transaction information.
{
  “token”: {
    “paymentData”: { … },
    “paymentMethod”: { … },
    “transactionIdentifier”: “32b…4f3”
  },
  “billingContact”: { … },
  “shippingContact”: { … }
}
2. Create an Apple Pay payment request
After the payment token is received, create a Apple Pay payment request to the emerchantpay Genesis payment gateway. Specify the encrypted payment token in payment_token and the payment type in payment_subtype.
Accepted Apple Pay payment types:
saleauthorizeinit_recurring_sale
  <?xml version=”1.0″ encoding=”UTF-8″?>
  <payment_transaction>
    <transaction_type>apple_pay</transaction_type>
    <transaction_id>119643250547501c79d8295</transaction_id>
    <payment_subtype>authorize</payment_subtype>
    <payment_token>
      {
        “paymentData”: { … },
        “paymentMethod”: { … },
        “transactionIdentifier”: “32B…4F3”
      }
    </payment_token>
3. Receive a response
You will receive a Success or Error response to your payment request.
Example of a Success response: <?xml version=”1.0″ encoding=”UTF-8″?>
<payment_response>
<transaction_type>apple_pay</transaction_type>
<status>approved</status>
<mode>live</mode>
<transaction_id>119643250547501c79d8295</transaction_id>
<unique_id>44177a21403427eb96664a6d7e5d5d48</unique_id>
<consumer_id>123456</consumer_id>
<avs_response_code>5I</avs_response_code>
<avs_response_text>Response provided by issuer processor; Address information not verified</avs_response_text>
<authorization_code>345678</authorization_code>
<response_code>00</response_code>
<timestamp>2022-06-29T15:36:44Z</timestamp>
<descriptor>Descriptor one</descriptor>
<amount>100</amount>
<currency>USD</currency>
<sent_to_acquirer>true</sent_to_acquirer>
<scheme_transaction_identifier>019091214161031</scheme_transaction_identifier>
</payment_response>payment_subtype, you can capture and settle the customer transaction. See the Transactions API for more information.
4. Test your integration
Use the Apple Pay sandbox to test your Apple Pay integration:
- Add an item to your cart in your online store.
- Proceed to the checkout page and check out using the Apple Pay button.
- Pay using one of the Apple test card details.
- Log in to Genesis.
- In the navigation menu, go to Payment transactions.
- Verify that the transaction appears at the top of the list and is successful.
5. Accept live payments
After you have successfully tested your Apple Pay integration, you are ready to move to the production environment and accept live payments. Contact your emerchantpay Account Manager to get your login credentials for the Genesis production environment.
You are now ready to accept live payments using Apple Pay.