Adobe Commerce (previously Magento 2)
Install and set up the Adobe Commerce plugin with emerchantpay.
Accept payments and build a customised storefront with the emerchantpay’s Adobe Commerce shopping cart plugin.
Adobe Commerce storefront demo
Follow these instructions to install the Adobe Commerce emerchantpay Gateway Module on your server. Then you’ll be able to process payments through the emerchantpay Genesis payment gateway.
Supported payment methods:
- Cards
- Alternative Payment Methods (APMs)
- Online Banking (oBeP)
- Wallets
- Vouchers
- Cash Payments
Supported versions:
- Magento 2 Community Edition (CE), Enterprise Edition (EE), and Enterprise Cloud Edition (ECE)
Prerequisites
To proceed with this solution, you must have an emerchantpay merchant account. Apply for a merchant account by filling out and submitting this contact form.
You will be assigned an emerchantpay Account Manager, who will provide you with credentials and assist you with any of emerchantpay’s payment solutions.- GenesisPHP is required to connect to the Genesis payment gateway, and it will be automatically installed as part of the recommended installation
- Download and install Composer.
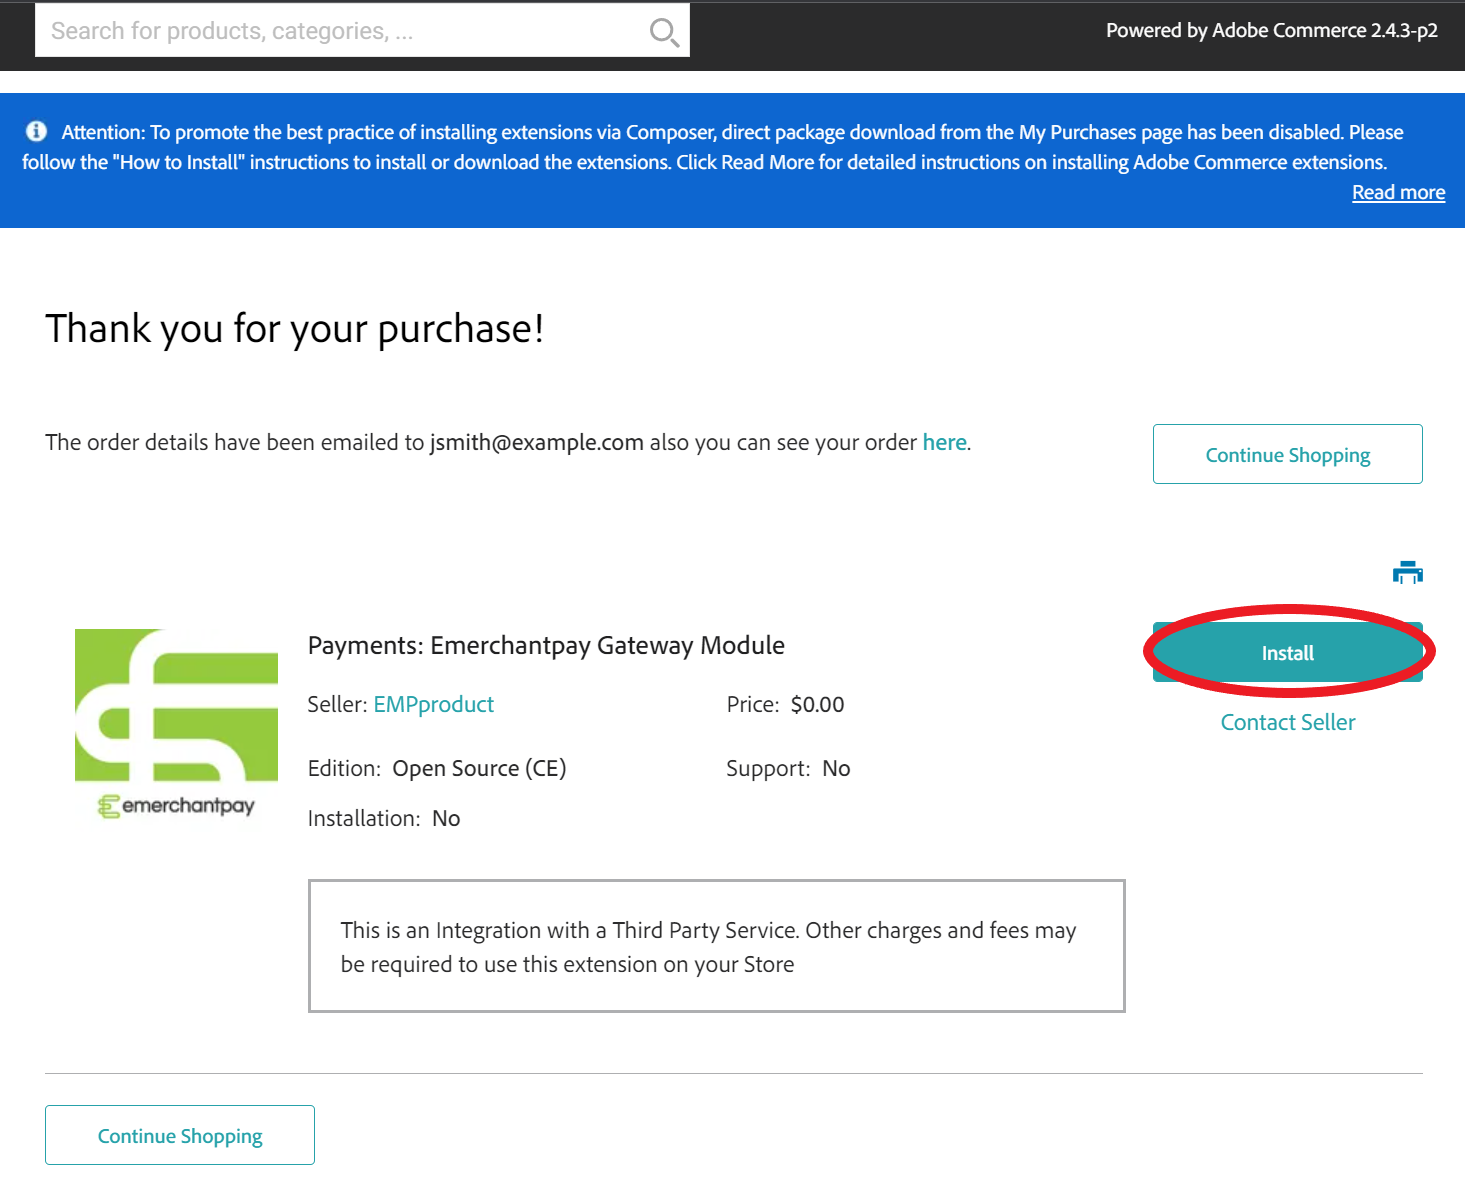
- Add the free emerchantpay Gateway Module to your account in the Commerce Marketplace.
- After you have added Adobe Commerce to your account, follow the instructions on the confirmation screen to generate and add your access keys to the .json file on your server. Click here for help with this step.
- Install the Payment Module:
$ composer require emerchantpay/magento2-emp-plugin - Enable the Payment Module:
$ php bin/magento module:enable EMerchantPay_Genesis –clear-static-content$ php bin/magento setup:upgrade - Deploy Magento static content (execute if needed):
$ php bin/magento setup:static-content:deploy - Log in to the Adobe Commerce Admin Panel.
- In the navigation menu, go to Stores > Configuration > Sales > Payment Methods.
- Go to Payment Methods and select Configure under emerchantpay Checkout to expand the available settings.
If the emerchantpay Payment Module panel is not visible in the list of available Payment Methods, go to System > Cache Management and clear the Adobe Commerce cache by clicking on Flush Magento Cache.

- Set Enabled to Yes to use the selected payment method.
- Add your credentials.
- Select your preferred transaction types and configure additional settings.See the Configuration section of the Adobe Commerce plugin for more information on the configuration parameters.
- Select Save Config.
- Set Enable email notification to Yes to receive an email after a successful payment. To send a confirmation email to a customer after a successful payment, enable the configuration toggle from the payment method configuration, then go to Stores > Configuration > Sales > Sales Emails and set Order emails to Yes in the Order section.
- Log in to the Adobe Commerce Admin Panel.
- Navigate to Stores > Configuration > General > Web.
- Expand the Base URLs (Secure) tab.
- Set Use Secure URLs on Storefront to Yes.
- Set Use Secure URLs in Admin to Yes.
- Enter your Secure Base URL and select Save Config.
- In your storefront, add an item to your cart.
- In your cart, select Go to Checkout.
- Fill in test values for the required billing fields. If you have enabled order confirmation emails in the Adobe Commerce configuration menu, you’ll receive an email confirmation if you enter in a valid email address.
- Select the emerchantpay Checkout payment method.
- Enter in the following card payment credentials:
- Select Place Order, and you will be redirected to the order confirmation page.
- Log in to the Adobe Commerce Admin Panel.
- Go to Sales > Orders. You should see your test order in the list of transactions.
- Contact emerchantpay support to activate your merchant account in the emerchantpay production environment.
- emerchantpay support will provide you with production credentials.
- In the Adobe Commerce Admin Panel, go to Stores > Configuration > Sales > Payment Methods. In the emerchantpay Checkout configuration options, enter your production credentials.
- Set Test Mode to No.
- Select Save Config.
Installation
To install Adobe Commerce from the Commerce Marketplace, you must have a free Commerce Marketplace account.
To ensure you install the latest version, emerchantpay recommends that you install the Adobe Commerce Payment Module on your server using Composer.Configuration
Configure Adobe Commerce over a secured connection (HTTPS)
You are now ready to test your Adobe Commerce integration in the emerchantpay staging environment.
Test your integration
Before you can start accepting live payments from customers, you must test your integration in the emerchantpay staging environment.
You are now ready to move to the production environment where you can accept live payments from your customers.
Accept live payments
Once you have successfully configured and tested the Adobe Commerce plugin in the staging environment, you’re ready to configure your merchant account in the production environment and accept live transactions.
To move to the production environment:
You are now ready to accept live payments from your customers.